Lino printing, also known as linocut, is a versatile and expressive art form that involves carving a design into a linoleum surface and then using that surface to print images on paper or fabric. This technique has been popular among artists since the early 20th century due to its accessibility and the bold, graphic quality of the prints it produces. In this blog post, we’ll explore the process of creating a lino print, the tools you’ll need, and important safety measures to consider.

What is Lino Printing?
Lino printing is a type of relief printing, where the artist carves away parts of the linoleum sheet to create a raised design. Ink is then applied to the raised areas, and the design is transferred to paper by pressing or rolling. The result is a striking print that can be reproduced multiple times.
The Lino Printing Process
Creating a lino print involves several steps:
Designing Your Artwork
Begin by sketching your design on paper. Remember that the image will be reversed when printed, so any text or directional elements need to be mirrored.
Once you’re satisfied with your design, transfer it to the lino slab using tracing paper or by drawing directly on the lino.

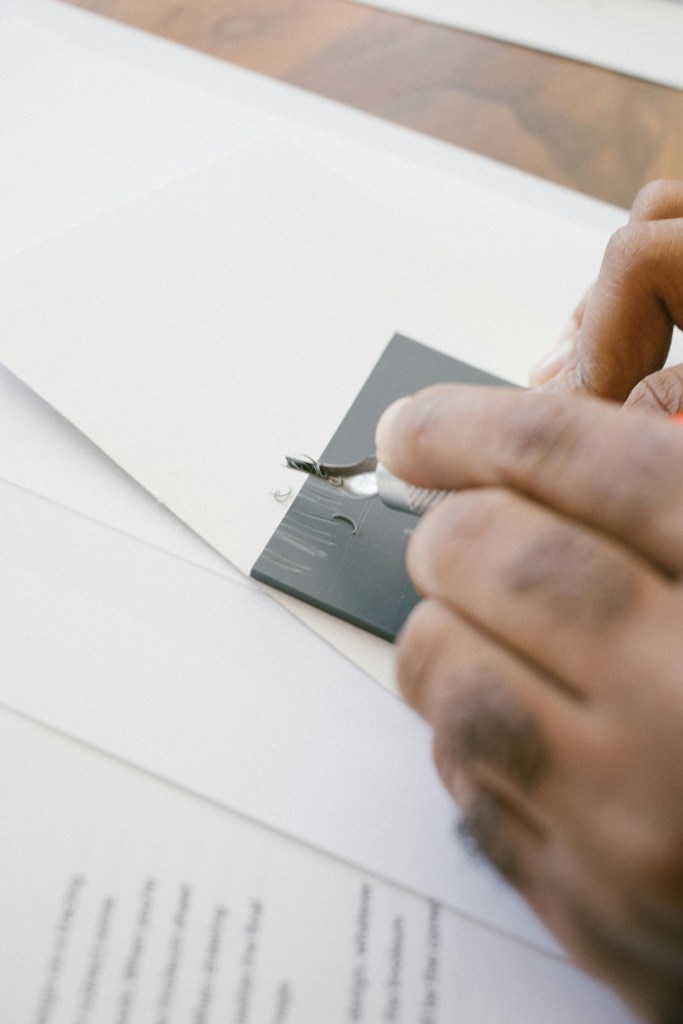
Carving the Linoleum
Use lino cutting tools to carve your design. These tools come in various shapes, with the V-shaped and U-shaped tools being the most common.
V-Shaped Tool: Ideal for fine lines and detailed work. It creates sharp, precise cuts.
U-Shaped Tool: Best for removing larger areas of linoleum. It creates broader, smoother cuts.
Carefully carve away the areas that you don’t want to print, leaving the design raised.
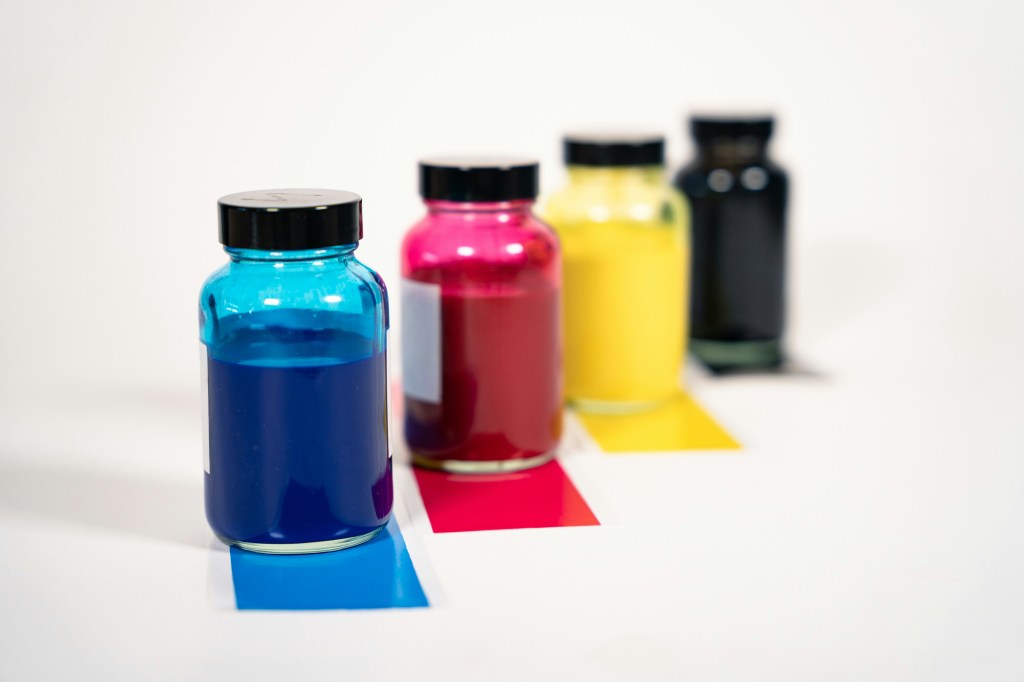
Inking the Lino Slab
Roll ink onto a flat surface (like a glass plate) using a brayer (roller).
Evenly coat the brayer with ink, then roll it over the carved lino slab, ensuring that the raised areas are fully covered.

Printing the Design
Place a sheet of paper on top of the inked lino slab.
Use a baren (a flat, round tool) or the back of a spoon to press the paper evenly onto the lino, ensuring the ink transfers smoothly.
Carefully lift the paper to reveal your print. Allow it to dry completely.

Tools of the Trade
To get started with lino printing, you’ll need:
Paper: Choose a paper that suits your aesthetic and printing needs. Lightweight papers are easier to print on, while heavier papers provide a more textured finish.
Linoleum Slab: Available in various sizes and thicknesses. Choose one that suits your design.
Lino Cutting Tools: V-shaped and U-shaped tools are essential for detailed and broad cuts, respectively.
Brayer: A roller used to apply ink evenly to the lino surface.
Ink: Printing ink, specifically formulated for lino printing, is best for achieving bold, crisp prints.
Baren: Used to press the paper onto the inked lino slab.
Safety Measures
Lino cutting involves sharp tools, so it’s important to follow safety precautions:
Cut Away from Your Body: Always carve away from your body and hands to avoid accidental cuts.
Secure the Lino Slab: Use bench hooks or tape to secure the lino slab while carving to prevent it from moving.
Sharp Tools are Safe Tools: Keep your tools sharp. Dull blades require more force and are more likely to slip.
Take Breaks: Carving can be physically demanding. Take breaks to avoid hand fatigue and maintain precision.

Conclusion
Lino printing is a rewarding and accessible art form that allows for creative expression and the production of striking prints. By understanding the process, tools, and safety measures, you can enjoy the art of lino printing while creating beautiful works of art. Whether you’re a beginner or an experienced artist, lino printing offers endless possibilities for artistic exploration.


Leave a comment